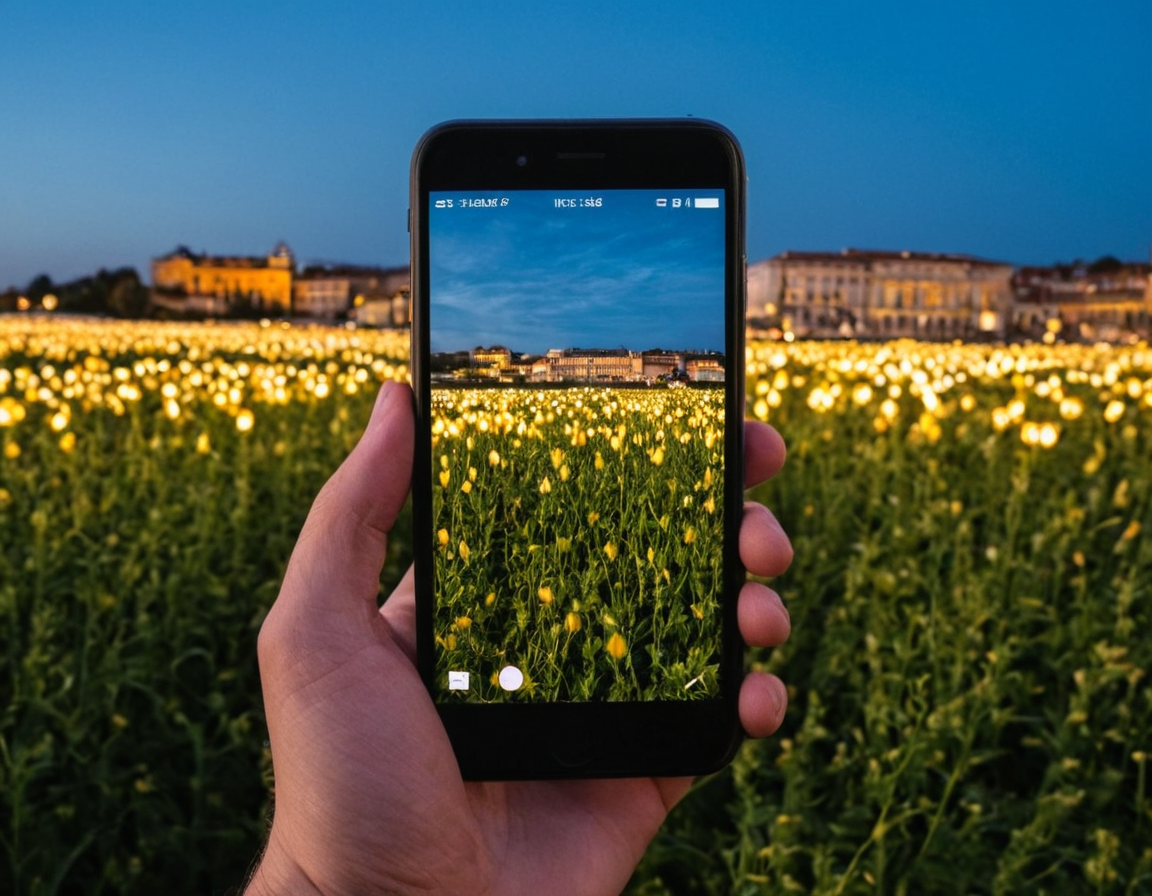
Top 10 Smartphone Photo Errors & Fixes

The Pitfalls of Smartphone Photography: Avoiding Common Mistakes
As smartphone cameras continue to improve, the art of capturing high-quality images has become increasingly accessible to everyone. However, with great power comes great responsibility. Amateur photographers often fall into common pitfalls that can ruin an otherwise excellent shot. In this article, we’ll delve into the top 10 common smartphone photography mistakes and provide practical tips on how to avoid them.
Understanding the Camera
Before we dive into the mistakes, it’s essential to understand your camera. Familiarize yourself with your device’s settings, features, and capabilities. Knowing what you have at your disposal will help you make informed decisions when behind the lens.
1. Insufficient Lighting
One of the most critical elements in photography is lighting. Natural light, artificial light, or a combination of both can greatly impact the outcome of your shot. Avoid using harsh midday sun or overly dim environments, as they can lead to unflattering results.
Practical Example:
A well-lit interior with soft, diffused natural light can create a warm and inviting atmosphere. However, avoid placing yourself directly in front of a window or outside in direct sunlight, as this can result in unflattering shadows and highlights.
2. Poor Composition
Composition is key to creating visually appealing images. The rule of thirds, leading lines, and framing are just a few techniques to consider when framing your shot.
Practical Example:
Instead of placing the subject directly in the center of the frame, try positioning them off-center or using negative space to create a more dynamic composition. This can lead to more engaging and interesting images.
3. Over-Editing
Over-editing can quickly ruin an otherwise excellent image. Resist the temptation to over-correct exposure, contrast, or saturation, as this can introduce unwanted artifacts and degrade the overall quality of the image.
Practical Example:
When adjusting brightness and contrast, make subtle adjustments instead of drastic ones. This will help maintain the natural look and feel of the original capture.
4. Background Clutter
A cluttered background can detract from your subject and create a distracting environment. Take the time to scout locations, check for distractions, or use a plain background to keep the focus on your subject.
Practical Example:
When capturing portraits, avoid placing the subject in front of a busy or distracting background. Instead, opt for a plain colored wall, outdoor location, or use a studio setup with a plain backdrop.
5. Shaky Handhold
A shaky handhold can result in blurry images and unflattering camera movement. Invest in a tripod or stabilizer to ensure smooth panning and focusing.
Practical Example:
When using a handheld camera, take the time to assess your surroundings and make adjustments as needed. Use a makeshift stabilizer like a stack of books or a walking stick to reduce camera shake.
6. Inadequate Focus
Out-of-focus images can be frustrating to edit and may require significant retouching. Make sure to check focus before capturing an image.
Practical Example:
When using autofocus, make sure it’s set to the correct mode (e.g., continuous or single-shot). Avoid using tap-to-focus as it can lead to incorrect focusing.
7. Over-Exposure
Over-exposure can result in blown-out highlights and lost details. Be mindful of your exposure settings and adjust accordingly.
Practical Example:
When shooting in bright environments, reduce the exposure compensation or use a narrower aperture (higher f-stop number) to avoid overexposing the image.
8. Under-Exposure
Under-exposure can result in washed-out images with lost details. Be cautious when adjusting exposure settings.
Practical Example:
When shooting in low-light conditions, increase the exposure compensation or use a wider aperture (lower f-stop number) to capture more detail.
9. Unnecessary Panning
Panning can be an effective technique for creating motion blur, but overusing it can lead to unflattering results.
Practical Example:
Use panning sparingly and only when necessary. Be mindful of the subject’s movement and adjust your pan accordingly to avoid unwanted artifacts.
10. Lack of Patience
Photography requires patience, especially when waiting for the right shot or capturing complex scenes.
Practical Example:
Take the time to observe your surroundings, wait for the right light, and be prepared to make adjustments on the fly. This will help you capture images that meet your standards.
Conclusion
By understanding and avoiding these common smartphone photography mistakes, you can significantly improve the quality of your images. Remember to stay patient, adjust your settings accordingly, and always keep an eye out for potential distractions. With practice and persistence, you’ll be well on your way to capturing stunning photographs that showcase your unique vision.
Call to Action
Share your favorite smartphone photography tips or tricks in the comments below. How do you avoid common mistakes when behind the lens?
Tags
smartphone-photography image-quality digital-camera-tips photo-taking-guides mistake-avoidance
About Thiago Pereyra
Hi, I'm Thiago Pereyra, and I've spent the last decade helping photographers unlock their creative potential through tutorials, workshops, and gear reviews on lentecreativa.com. My background in photography and post-production informs my passion for sharing actionable tips and techniques to help you take your craft to the next level.
