Landscape Shots Guide | Master Long Exposure
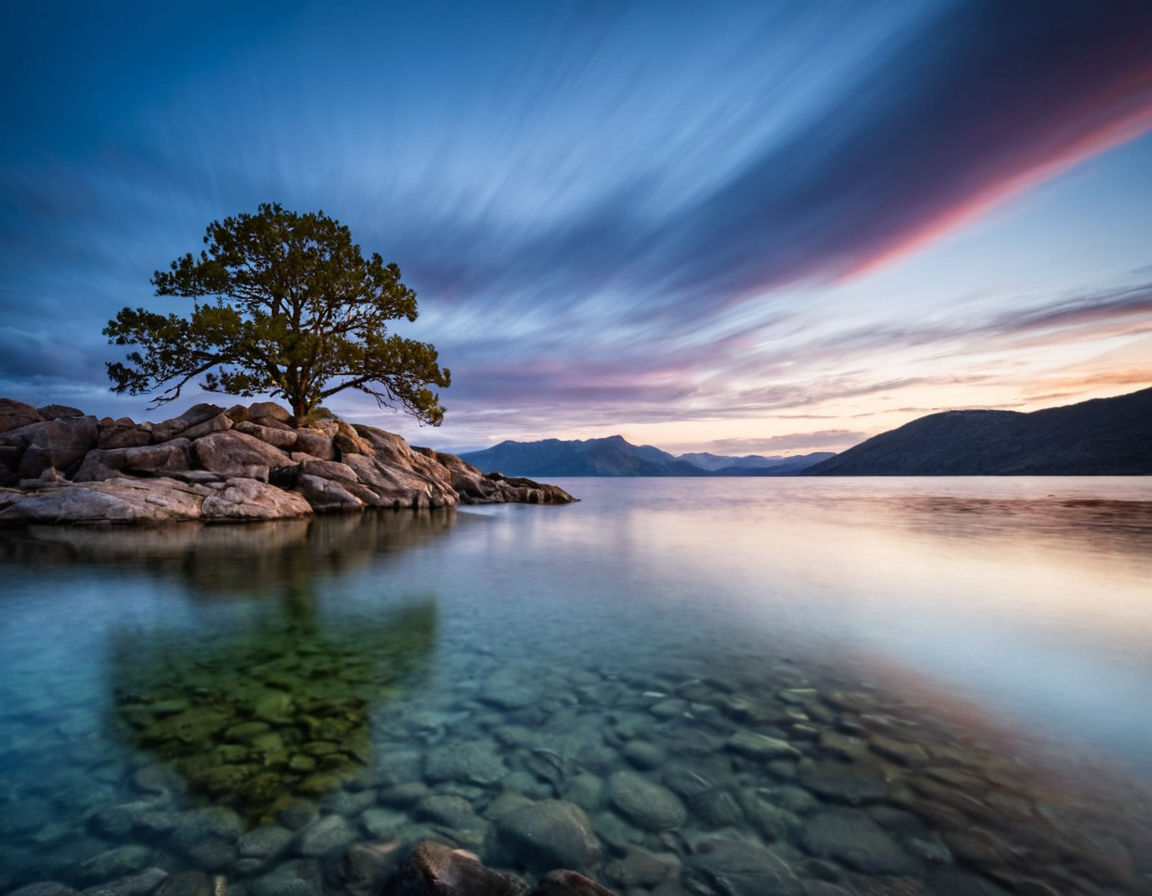
Mastering Long Exposure Landscapes: A Step-by-Step Guide
Introduction:
Long exposure landscapes can be truly breathtaking, but capturing them requires a solid understanding of the technical and creative aspects involved. In this guide, we’ll walk you through the process of mastering long exposure landscapes, from equipment selection to post-processing techniques.
Equipment Selection
Before we dive into the nitty-gritty, it’s essential to understand that long exposure photography can be physically demanding on your gear. You’ll need a camera body that can handle high ISOs and slow shutter speeds without introducing unwanted noise or degradation. A tripod is also a must-have for maintaining stability and avoiding camera shake.
For this guide, we’ll be using a DSLR camera with a wide-angle lens, but keep in mind that mirrorless cameras and action cameras can also produce stunning results.
Step 1: Planning and Preparation
Before you even pick up your camera, it’s crucial to plan your shot. Research the location, time of day, and weather conditions to ensure you’re capturing the best possible image. Consider factors like wind direction, cloud movement, and available light.
- Identify potential hazards like loose rocks or fast-moving water
- Check local regulations and permits required for shooting in certain areas
- Bring necessary gear like extra batteries, memory cards, and a backup camera
Step 2: Camera Settings
Now it’s time to talk about the technical aspects of long exposure photography. We’ll be using the following settings as a starting point:
- Shutter speed: Start at around 1/15s and adjust based on movement and light
- Aperture: f/11 or wider for a shallower depth of field
-
ISO: Keep this as low as possible to minimize noise
-
Example:
print("Shutter priority mode is recommended for long exposure")
Step 3: Composition and Exposure
Long exposure landscapes can be incredibly effective when used in conjunction with thoughtful composition. Consider factors like leading lines, framing, and symmetry.
- Shoot during the golden hour or overcast skies for soft, warm light
- Experiment with different angles and perspectives to add depth to your image
- Pay attention to negative space and consider cropping later
Step 4: Post-Processing
Post-processing is where the magic happens. You’ll need to adjust exposure, contrast, and noise reduction to bring out the best in your image.
- Use software like Lightroom or Photoshop to make adjustments to exposure, contrast, and color balance
- Apply noise reduction techniques to minimize grain and artifacts
- Experiment with different presets and styles to find the look that works for you
Conclusion:
Mastering long exposure landscapes takes time, patience, and practice. By following these steps and experimenting with different techniques, you can create images that showcase the beauty of our natural world.
So, what’s next? Will you be taking your camera out into the wild to capture some breathtaking long exposure landscapes? Share your favorite tips and tricks in the comments below!
Tags
long-exposure-photography landscape-capturing camera-tips tripod-use post-processing-techniques
About Sarah Davis
Photography enthusiast & expert Sarah Davis helps creative photographers refine their craft through inspiring tutorials, innovative tools, and actionable tips on lentecreativa.com.