ISO/Aperture/Shutter Speed Mastery
Understanding the Exposure Triangle: Mastering ISO, Aperture, and Shutter Speed for Better Photos
The world of photography is full of complexities, from the intricacies of lighting to the nuances of composition. However, one crucial aspect that often gets overlooked is the exposure triangle – a fundamental concept that forms the foundation of capturing high-quality images. In this article, we’ll delve into the technical aspects of ISO, aperture, and shutter speed, providing you with a comprehensive understanding of how to master these elements.
The Exposure Triangle: A Primer
The exposure triangle is a triad of three fundamental components: ISO, aperture, and shutter speed. Each component plays a vital role in determining the final outcome of an image – be it overexposure or underexposure. Understanding the interplay between these three elements is essential for producing photographs that accurately reflect your artistic vision.
ISO: The Sensitivity
ISO refers to the camera’s sensitivity to light. It’s measured in numerical values, with lower numbers indicating a less sensitive camera and vice versa. In most cases, photographers opt for lower ISO settings (100-400) as they result in better image quality. However, there are scenarios where higher ISOs might be necessary – such as low-light conditions or when capturing fast-moving subjects.
When working at higher ISOs, it’s crucial to note that increased sensitivity also amplifies digital noise and grain. This can lead to an unappealing texture that detracts from the image’s overall quality. As a general rule of thumb, try to limit your exposure to ISO values above 6400 unless absolutely necessary.
Aperture: The Focus
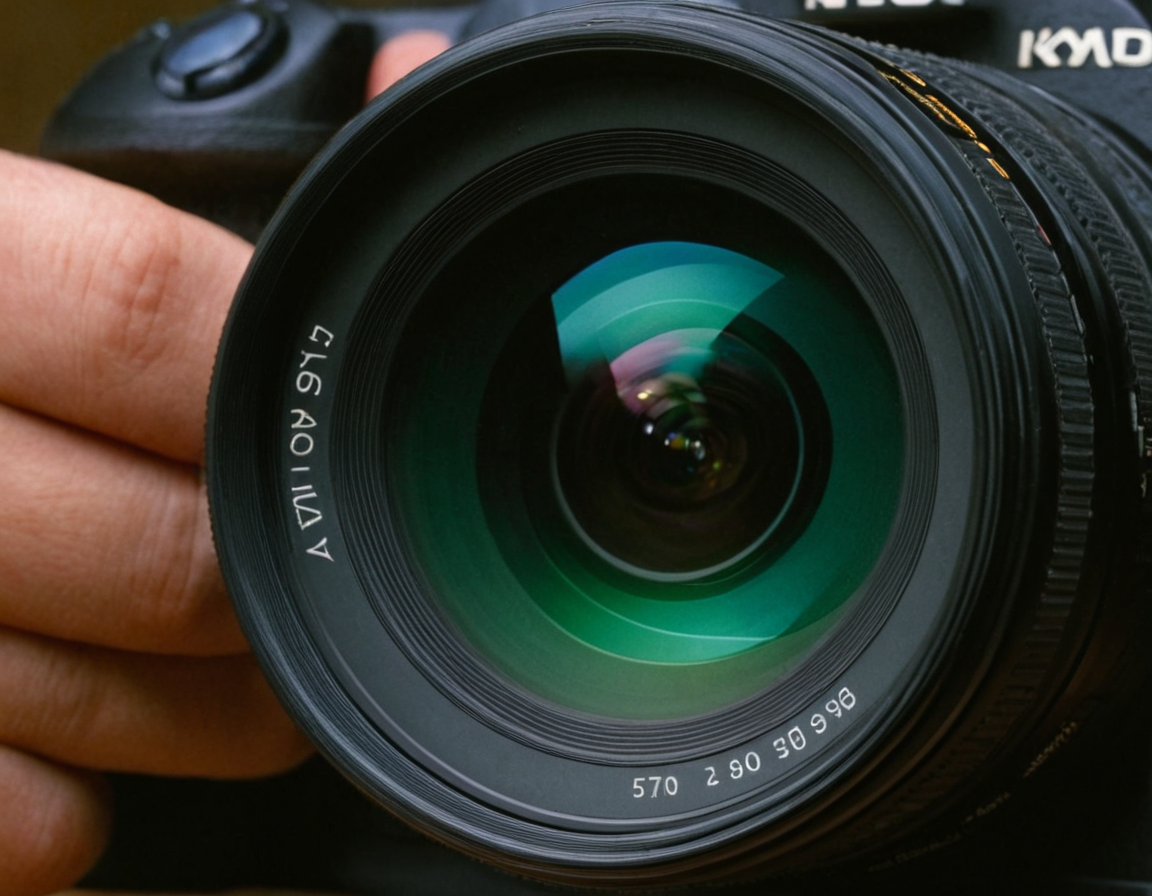
Aperture refers to the size of the camera’s aperture – essentially, how much light enters the lens. Aperture is measured in f-stops (e.g., f/2.8, f/4), with lower f-stop numbers indicating a larger aperture opening. This allows more light into the camera, while higher f-stop numbers restrict it.
Aperture plays a significant role in controlling the depth of field – essentially, whether or not specific elements within the image remain in focus. A larger aperture (lower f-stop number) results in a shallower depth of field, where only the subject remains sharp, while the background becomes blurred. Conversely, a smaller aperture (higher f-stop number) creates a greater depth of field, ensuring more of the image remains in focus.
Shutter Speed: The Motion
Shutter speed refers to the length of time the camera’s shutter is open, measured in seconds or fractions thereof (e.g., 1/500th). Faster shutter speeds are used to freeze motion and capture sharp images of moving subjects. Conversely, slower shutter speeds can create a sense of blur and convey movement.
When working with fast-moving subjects, it’s essential to consider the shutter speed in conjunction with aperture and ISO. For instance, using a high ISO and a slow shutter speed might result in an image that’s too noisy or lacks sufficient detail. However, if you balance these factors correctly, you can capture stunning images of your subject.
Putting it into Practice
Now that we’ve covered the theoretical aspects of the exposure triangle, let’s dive into some practical examples.
Example 1: Low-Light Conditions
Suppose you’re shooting a scene with limited natural light. In this scenario, you might feel compelled to use a higher ISO to compensate for the lack of available light. However, be cautious not to exceed ISO 6400, as this can introduce unacceptable levels of digital noise.
Instead, consider using a larger aperture (lower f-stop number) to let more light into the camera. This will also help you freeze any moving elements within the scene, such as people or vehicles.
Example 2: Capturing Motion
When capturing images of fast-moving subjects – such as sports or wildlife photography – it’s essential to balance shutter speed with aperture and ISO.
For instance, if you’re using a high ISO (400) and a slow shutter speed (1/30th), the resulting image might be too noisy. However, by adjusting your settings to a lower ISO (100) and a faster shutter speed (1/500th), you can create a sharp image that captures the essence of the subject’s motion.
Conclusion
The exposure triangle is a delicate balance of three fundamental components – ISO, aperture, and shutter speed. Mastering these elements requires an in-depth understanding of how they interact with one another.
By focusing on the theoretical aspects of the exposure triangle and applying practical examples to your photography, you’ll be well on your way to producing high-quality images that accurately reflect your artistic vision.
So, the next time you pick up your camera, remember – the exposure triangle is not just about technical settings; it’s an art form that requires finesse, patience, and practice. Will you take the challenge?
Tags
exposure-triangle understanding-photography iso-settings aperture-control shutter-speed-techniques
About Teresa Gomez
Photography enthusiast & blogger Teresa Gomez shares her expertise on inspiring photography techniques, tutorials, and tools to help creatives elevate their craft at lentecreativa.com.