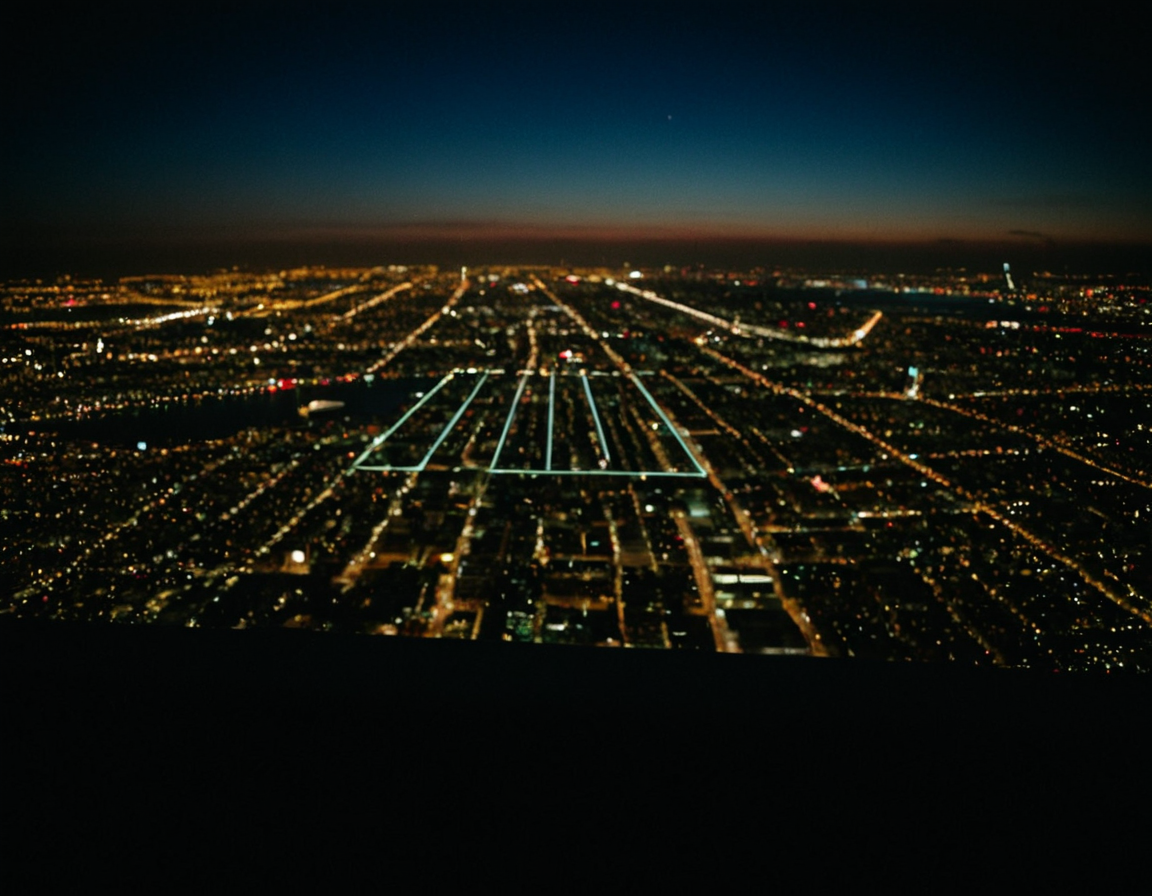
ISO Basics for Low Light Shoots

Understanding the Role of ISO in Low Light Photography: A Beginner’s Guide
Low light photography can be a challenging and frustrating experience, especially for beginners. However, with the right techniques and knowledge, it’s possible to produce high-quality images even in the most inhospitable lighting conditions. In this article, we’ll delve into the world of low light photography and explore the role of ISO in achieving stunning results.
What is ISO?
ISO (International Organization for Standardization) refers to the camera’s sensitivity to light. It’s measured in numerical values, such as f-stop or shutter speed, but it’s not directly related to either of those two settings. The lower the ISO value, the less sensitive the camera is to light, while a higher ISO value makes the camera more sensitive.
How Does ISO Affect Low Light Photography?
When shooting in low light conditions, increasing the ISO can help compensate for the lack of available light. However, it’s essential to understand that high ISO values can lead to several issues:
- Noise and grain: High ISO values can introduce unwanted noise and grain into your images, making them look unpleasant.
- Color casts: Increased ISO can also cause color casts, leading to an unnatural color representation in your photos.
Practical Tips for Working with Low Light
While increasing the ISO might seem like a viable solution, it’s not always the best approach. Here are some alternative techniques to help you capture better images in low light conditions:
- Use a tripod: A tripod will allow you to keep your camera stable, reducing camera shake and blur.
- Use a wide-aperture lens: A wide-aperture lens (small f-stop value) can let more light into the camera, making it easier to capture images in low light.
- Increase shutter speed: Slowing down the shutter speed can help let more light into the camera, but be careful not to introduce motion blur.
Example: Shooting in a Dimly Lit Room
Let’s say you’re shooting in a dimly lit room with a single source of light. Here’s an example of how you might approach this situation:
- Set your camera to a wide-aperture lens (f/1.4) and a slow shutter speed (1/30s).
- Use a tripod to keep the camera stable.
- Adjust the lighting setup to minimize harsh shadows and ensure even illumination.
Conclusion
Low light photography can be challenging, but with the right techniques and knowledge, you can produce high-quality images. By understanding the role of ISO and exploring alternative methods, you’ll be better equipped to handle difficult shooting situations. Remember to always prioritize image quality over technical settings, and don’t be afraid to experiment and try new approaches.
**What’s your favorite technique for handling low light photography? Share with us in the comments!
Tags
low-light-photography beginners-guide understanding-iso camera-settings inhospitable-conditions
About Camila Rodriguez
Hi, I'm Camila Rodriguez, a seasoned photographer and blog editor passionate about inspiring creative minds. With a background in photography and a knack for crafting engaging tutorials, I help bring the best photography techniques and tools to life on lentecreativa.com.
