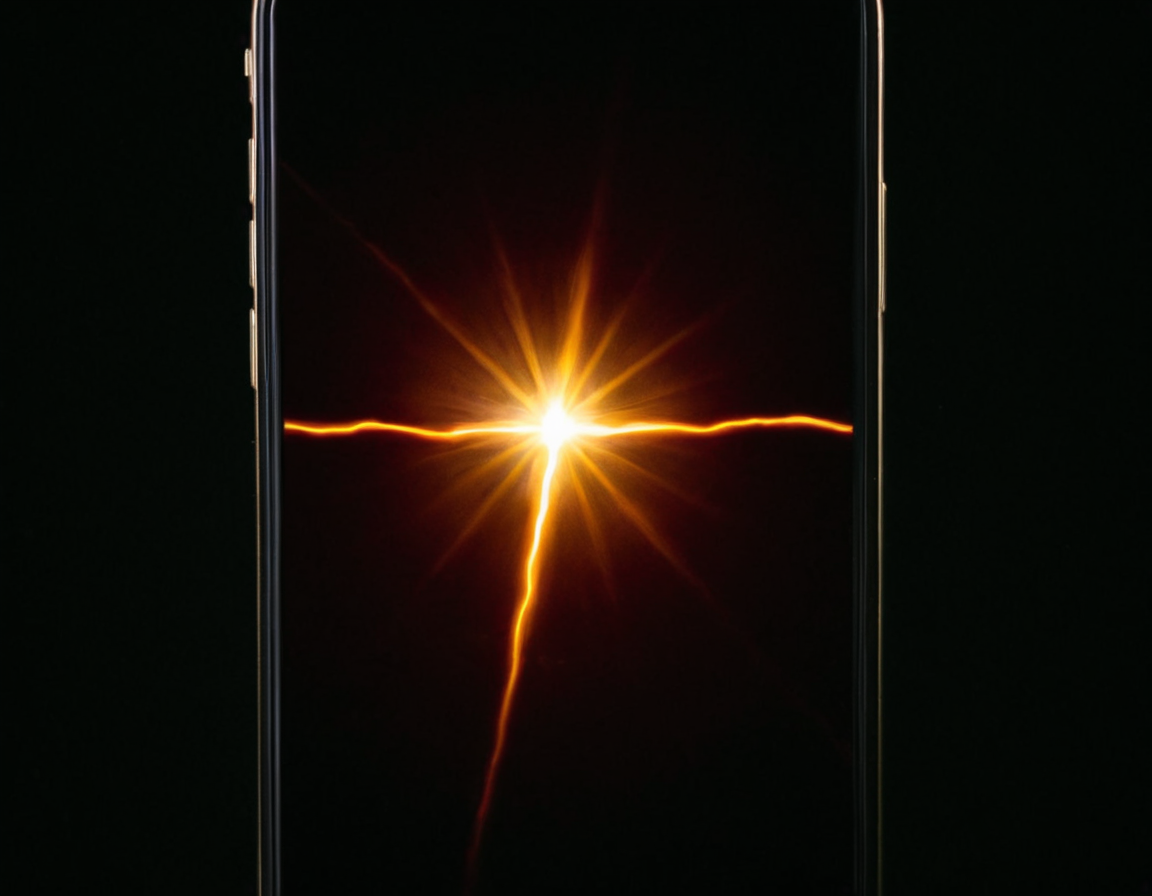
Flash Mastery in Smartphones - Step by Step

Mastering Smartphone Flash Photography: A Step-by-Step Guide
Introduction
Smartphone flash photography has become increasingly popular among enthusiasts and professionals alike. With the advancements in technology, smartphones have become capable of producing high-quality images that rival those from professional cameras. However, mastering the art of smartphone flash photography requires more than just having a good camera.
In this guide, we will take you through the step-by-step process of mastering smartphone flash photography, covering essential concepts, techniques, and best practices.
Understanding Flash Photography Basics
Before diving into advanced topics, it’s crucial to understand the fundamentals of flash photography. This includes:
- Flash modes: Familiarize yourself with your device’s built-in flash modes (e.g., auto, manual, or strobe). Understand how each mode affects the output.
- White balance: Learn about white balance settings and their impact on image quality.
- Metering modes: Understand how different metering modes (e.g., evaluative, center-weighted) can affect exposure.
Preparing Your Smartphone for Flash Photography
To get the most out of your smartphone’s flash capabilities:
- Clean the lens: Regularly clean your device’s lens to prevent dust and debris from affecting image quality.
- Use a camera app with flash support: Some camera apps may not support flash or have limited functionality. Ensure you’re using an app that supports advanced flash features.
- Check for firmware updates: Regularly update your device’s firmware to ensure you have access to the latest flash-related features.
Understanding Flash Types
There are two primary types of flashes:
- Built-in flash: Most smartphones come with a built-in flash. Understand how to use it effectively and when to avoid using it.
- External flash: Consider investing in an external flash for more advanced applications. External flashes can offer better performance, wider coverage, and more precise control.
Mastering Flash Techniques
Now that you have a solid grasp of the basics, let’s dive into some advanced techniques:
- Sidelighting: Use the flash to create dramatic sidelights by positioning it at a 90-degree angle to your subject.
- Rim lighting: Create a rim of light around your subject by using the flash to highlight their edges.
- Fill flash: Use fill flash to balance exposure in low-light conditions.
Best Practices for Smartphone Flash Photography
To ensure you get the best possible results:
- Use a tripod or stabilizer: A stable camera setup is crucial for achieving sharp images and minimizing camera shake.
- Experiment with angles: Don’t be afraid to experiment with unusual angles and perspectives to add depth to your images.
- Pay attention to background: Ensure your background is clean, simple, and uncluttered to avoid distractions.
Conclusion
Mastering smartphone flash photography takes time, patience, and practice. By following this guide, you’ve taken the first step towards improving your skills. Remember to always experiment, push boundaries, and keep learning.
What’s next? Take a closer look at your current camera app and explore its capabilities. Share your favorite tips or techniques for smartphone flash photography in the comments below!
Tags
smartphone-flash-photography mobile-camera-tips photo-tutorials lighting-techniques professional-shots
About David Lopez
As a seasoned photographer and blogging expert, I help creatives refine their craft on lentecreativa.com. With a focus on practical tips & techniques, I inspire photographers to push boundaries and capture stunning images.
